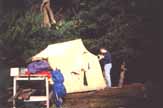
The first cabin of Stephen and Marja.
The Need for a Cabin
Well picture it for yourself! You have just finished a hard day
moving tons of gravel and now it is time to relax, enjoy something to eat, and
even perhaps rest with a beer. Where do you do it? At the first
cabin of Stephen and Marja erected on the site. It is pictured below.

The first cabin of Stephen and Marja.
Cabin Building
From the very beginning of conception of the cabin it was always
intended as a dry run for a house. The construction was to meet the current BC
building code. This meant much study and research into just how to do
this. Initially, after selecting the site, the whole cabin (limited to 8
feet by 12 feet to ensure that no building permit was required, was designed and
drawn up by Stephen using AutoCad. Lumber and materials were ordered from
these plans as required.
Initially the foundation was put in. This consists of rebar epoxied into the rock base. On these are mounted steps to support the vertical wooden support uprights. This is to prevent the bottoms of the wooden structure from being in contact with the ground, thereby reducing rot. As the rock surface is not flat, different length support poles were mounted onto these metal bearing plates. Then the first floor can be supported on top of these verticals. For the cabin 8 vertical poles are used, appropriately braced to prevent any motion.
The four walls were built separately, including the cut outs for the window frames. When this was done there was a delay in cabin building while more work was put into completing the septic system, and building a tool shed. The four sides of the cabin were stored under plastic, which sometimes blew off requiring it to be replaced next time they visited the Island.
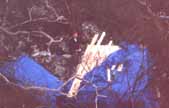
The four walls were stored flat for much of the summer.
When it came time for building the walls went up in one rainy day in October, 1997 - one by one.
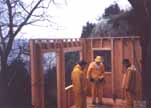
The first and second walls are in place.
The photo below shows how the land slopes away from the cabin at quite a steep angle. The scaffolding was essential to be able to reach the cabin walls at this point.
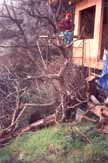
The scaffolding used while putting up the walls.
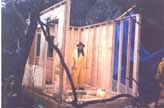
The third cabin wall is added.
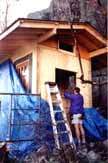
Finally, all the walls are placed.
Then it was time to put the roof in place. This is a difficult task, but after some juggling it all came together.
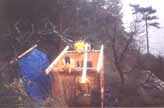
Now the walls are placed it is time to start the roof.
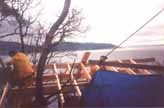
The roof begins to take shape.
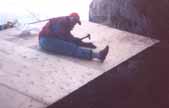
The roof will need the corrugated iron roof to complete it.
The iron roof is used to collect water for the supply of water.
Go to Second Page of Cabin Building - This Includes Pictures of the Finished Cabin.
Passage Island Site Development History Page. or to Passage Island Lot #9 Home Page. or to Site Index Page.