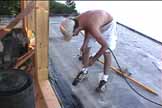
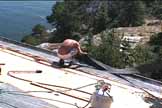
Josh uses the propane torch to apply the roofing material.
(Click on the image to see a larger version of this picture, and then use your browser's back button to return to this page.)
The roofing material - a torch-on bitumen product 4mm thick - is now applied to exposed roof and deck surfaces. This requires a dry day, with clean surfaces to ensure good bonding. A propane torch is used to apply the material. This is not without its risks as can be seen in the second photo, so a large container of water is kept close at hand! While this is going on, many other details are being finished. These include the stairs to the basement, ensuring that all the window openings are the right size and that they are ready for window installation, and completing the installation of rafters.

Josh uses the propane torch to apply the roofing material.
(Click on the image to see a larger version of this picture, and
then use your browser's back button to return to this page.)
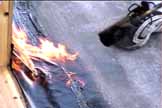
The roofing material sometimes ignites as it melts (but it goes out immediately the torch is
removed!)
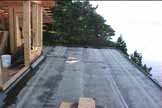
The main deck with one thickness of roofing material applied.
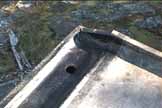
Detail of the gutter arrangement which is built into the roof. A
3" (7.5cm) down pipe is used here.
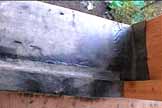
The deck at the main door to the first floor balcony (which is not
being built at this time.)
One of the last sections of the roof is the final plywood at the very ridge line of the house. Here is Lockwood cutting some of the plywood to complete this.
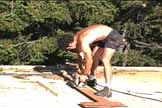
Lockwood cutting the plywood for the roof line.
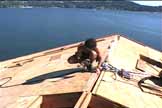
Lockwood fitting the plywood at the roof line.
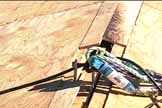
Anchor for the safety lines. This is 1/4" (0.6 cm) steel, with a 3/4" (1.8 cm) bolt.
Now all the edging is on the roof, the torch-on waterproof layer for the guttering can be added. The next two photos show Josh and Chris placing a piece of this material which has been heated by the propane torch, as seen in photos above.
Josh lifting his end of the heated strip, with Chris (not seen here)
at the other end.
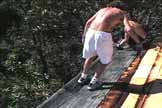
Josh pushing the strip into place with his foot, while Chris is
supporting the far end.
The next material on the roof (September 25) is the ice and water shield. This comes in rolls and is adhesive underneath. To place it, the roll is set in place and then the backing material pulled away from the roll as it is rolled out. Then all the grommets for electrical wiring etc are placed, and then the two sky lights installed. These presented more problems than anticipated as Stephen had been assured that the rectangular windows could be mounted either way. Well, they can't! But that is too late now so adaptations had to be made! The only steps remaining are to complete the drains and add the steel roofing - which is being delivered on September 29 - Stephen's last "vacation" day.
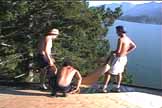
Stephen, Josh and Lockwood apply the second line of ice and water
shield.
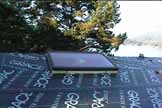
The ice and water shield is in place and the skylights are partially
installed. The roof is largely waterproof now!.
Go to the second page of Roofing.
Return to Passage Island Site Development History Page. or to Passage Island Lot #9 Home Page. or to Site Index Page.